TikTok Ads Account Registration and Payment Setup
How to register a TikTok Ads account, choose the account region carefully, bind payment, and prepare the account for broader targeting.
TL;DR
Account region, payment setup, and first-campaign behavior affect taxes, billing, offer visibility, and available targeting locations. Register from the offer entry, use a stable environment, bind payment, then test with a small campaign before scaling.
Why account setup matters
Many beginners assume they need a local ad account for every target country. In practice, the account region and target location are related but not identical. The region you choose during registration can affect payment methods, taxes, available placements, and which locations are selectable in Ads Manager.
For long-term delivery, do not choose a region casually. Match the region to your real operating setup, payment method, billing needs, and offer path.
Prepare before registration
Before opening the registration flow, prepare:
- A stable email or phone number.
- A clean browser and IP environment.
- A payment method that can be charged consistently.
- A landing page or business website if available.
- The offer entry you plan to use.
If you want to claim a new-advertiser offer, start from the offer entry on ttoh.app rather than creating an account from a random path.
Create the TikTok for Business account
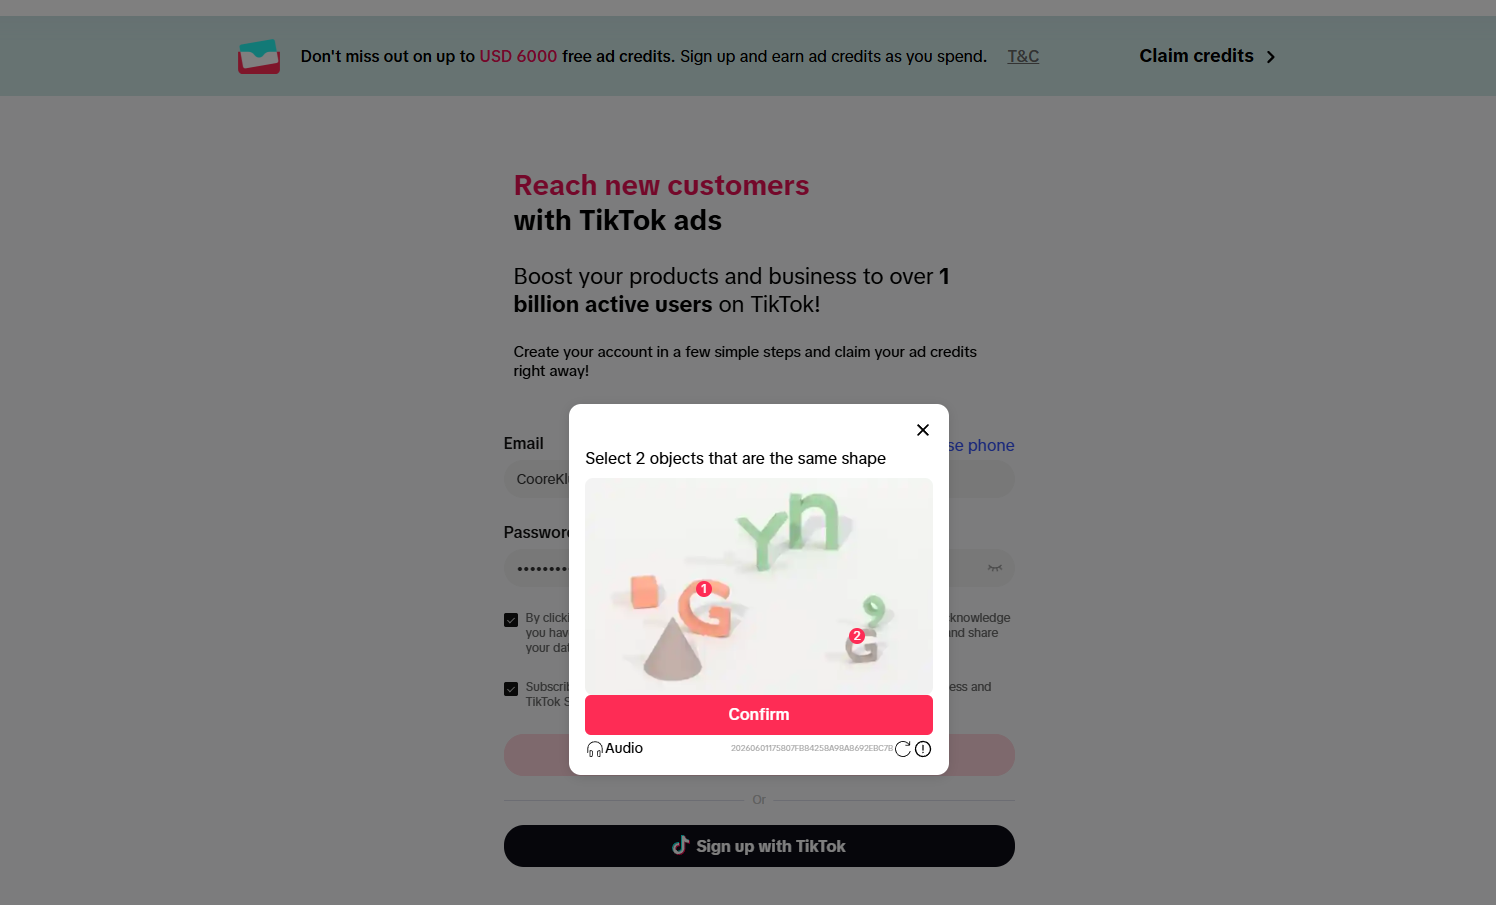
Open the offer entry, then create the TikTok for Business login with email or phone. Complete verification and keep the login method stable because account review, billing notices, and promotion messages may be sent there.
Fill in business information
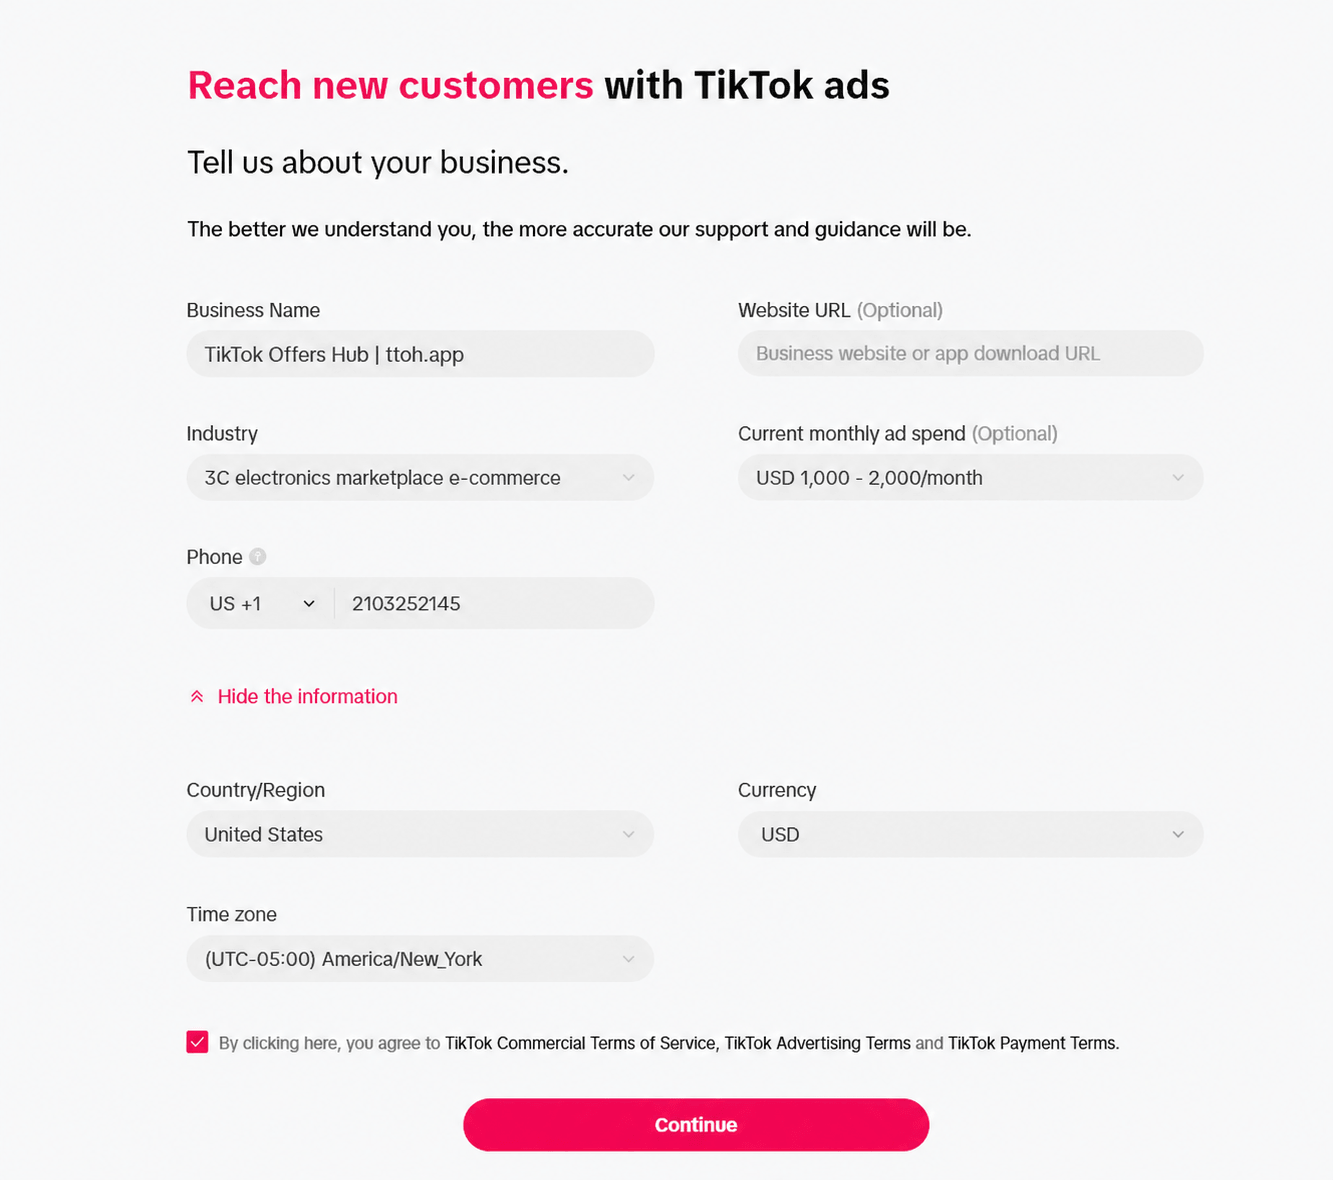
Enter the basic business fields carefully. The business name can be your brand, project, or website name. The industry should be close to what you actually advertise. If the page asks for a website, use a real landing page when possible.
Phone verification is sometimes triggered by risk controls. If verification loops or page errors happen repeatedly, check the IP, browser profile, device fingerprint, and account environment before trying again.
Set billing and payment
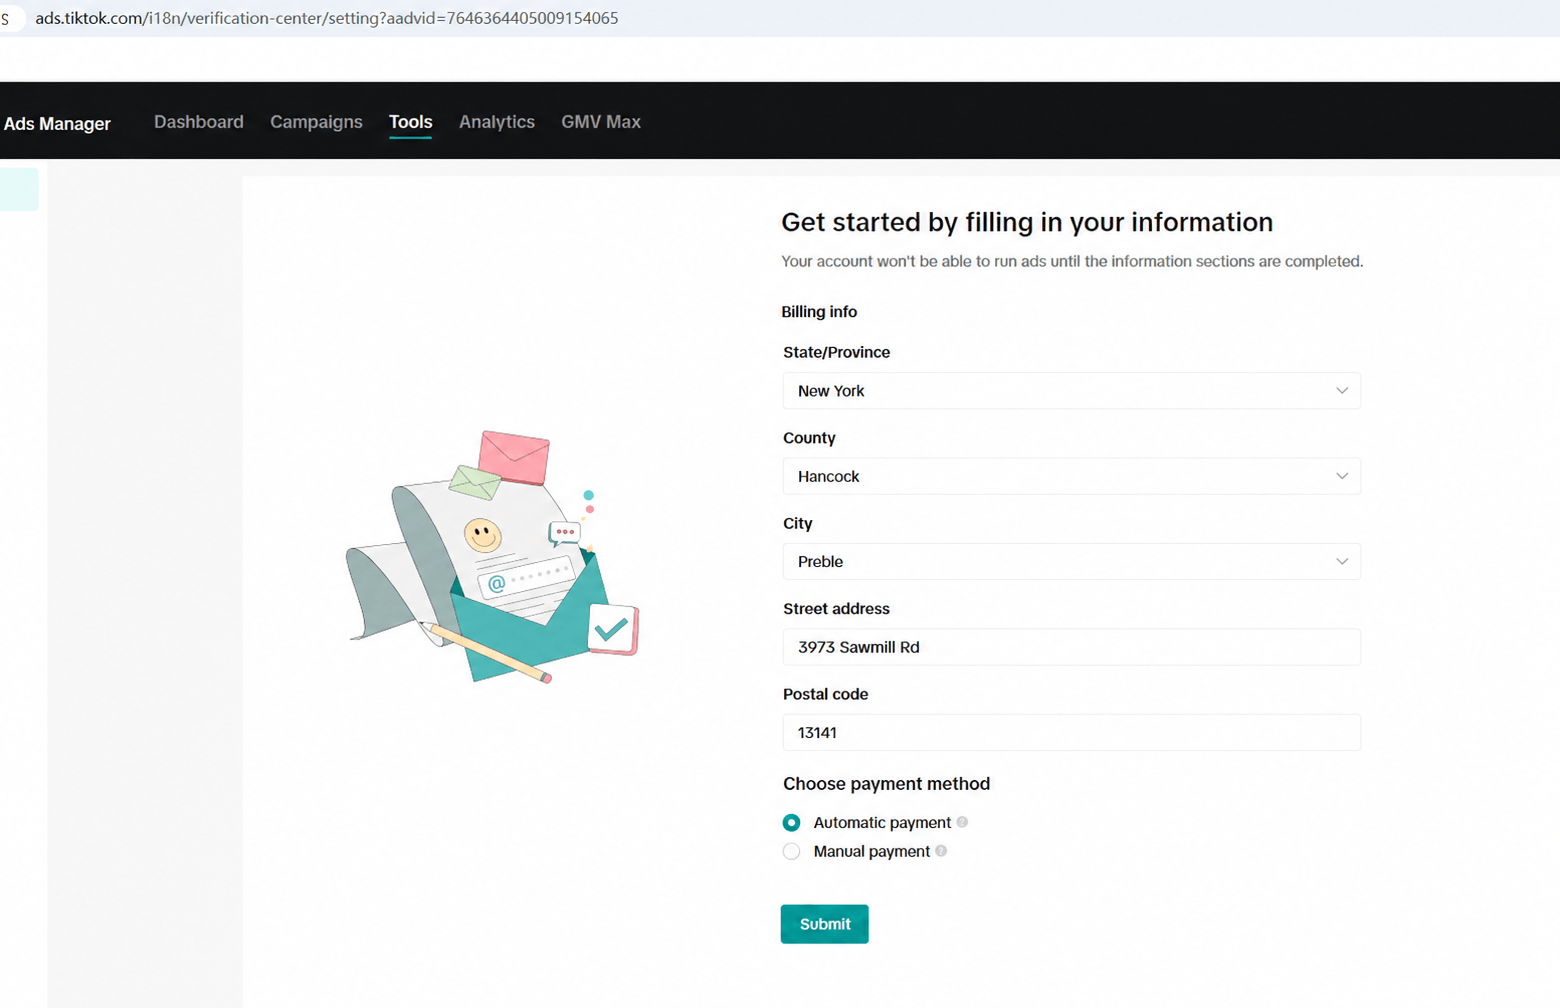
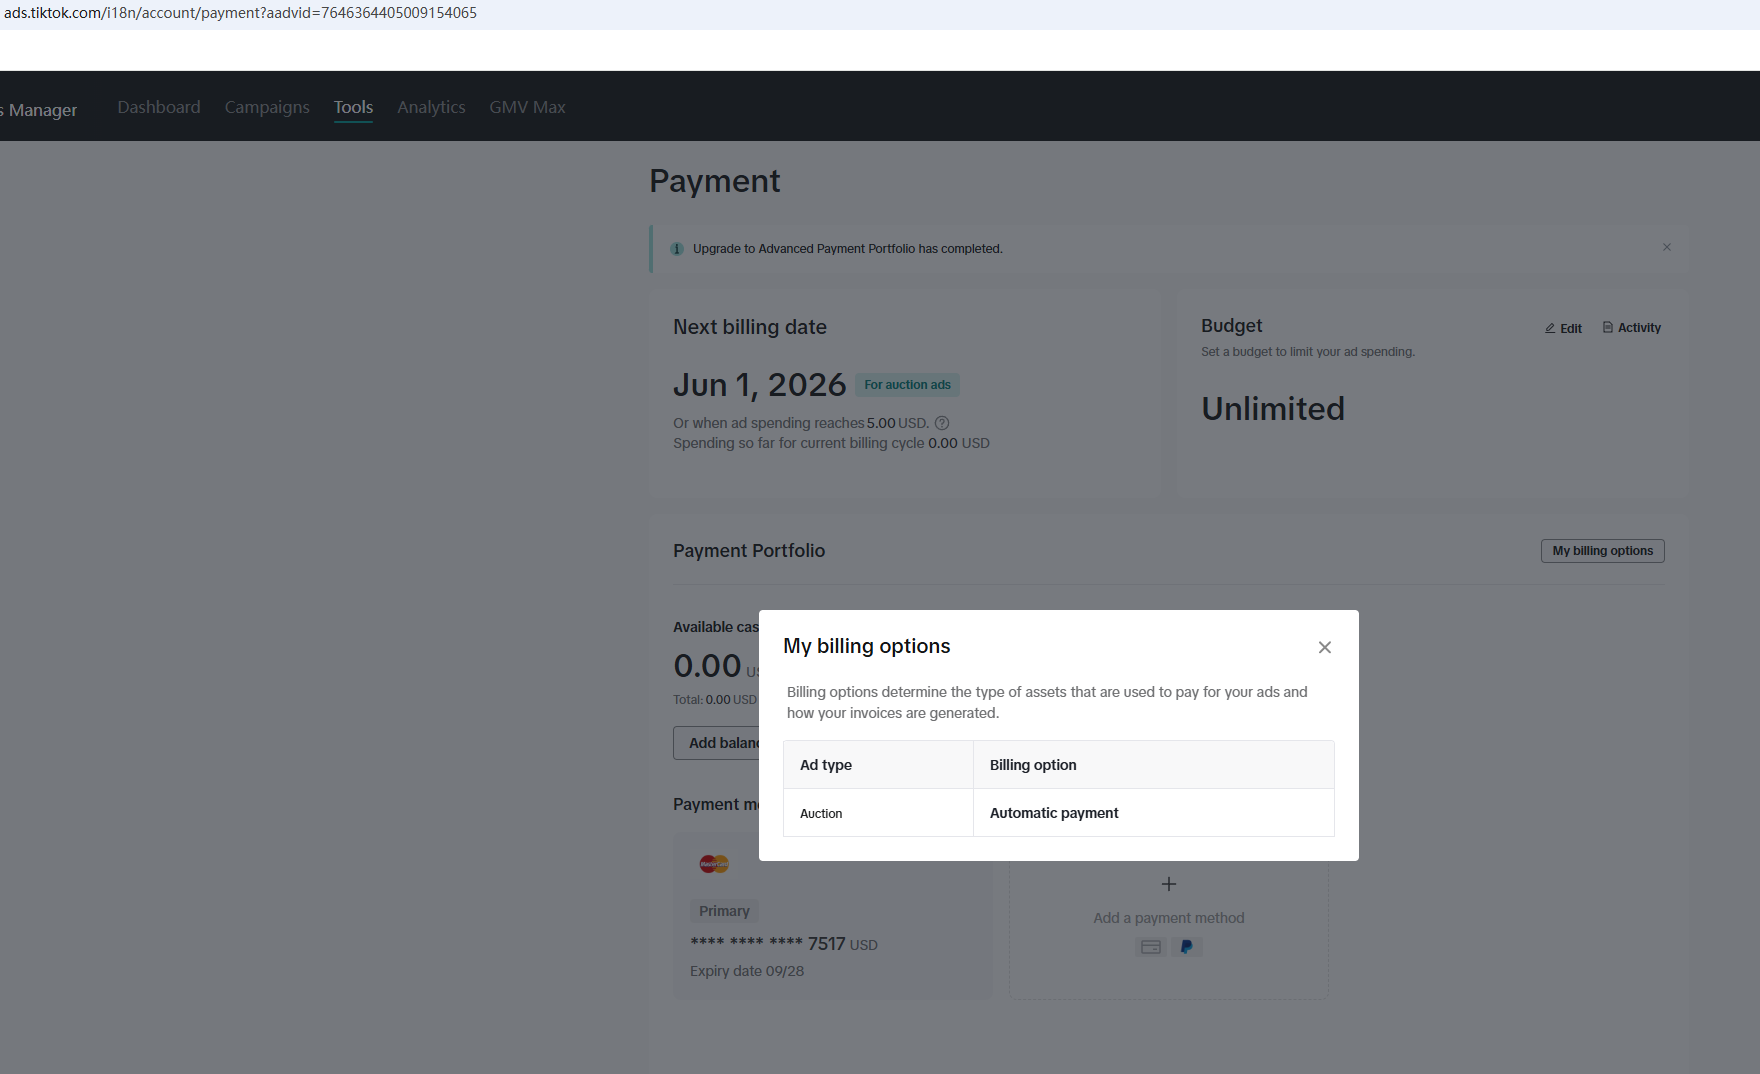
Billing information initializes the account for payment. Confirm the country or region, address, currency, and billing option before submitting. Some accounts support automatic payment, manual payment, or monthly invoicing; the available options depend on account and market.
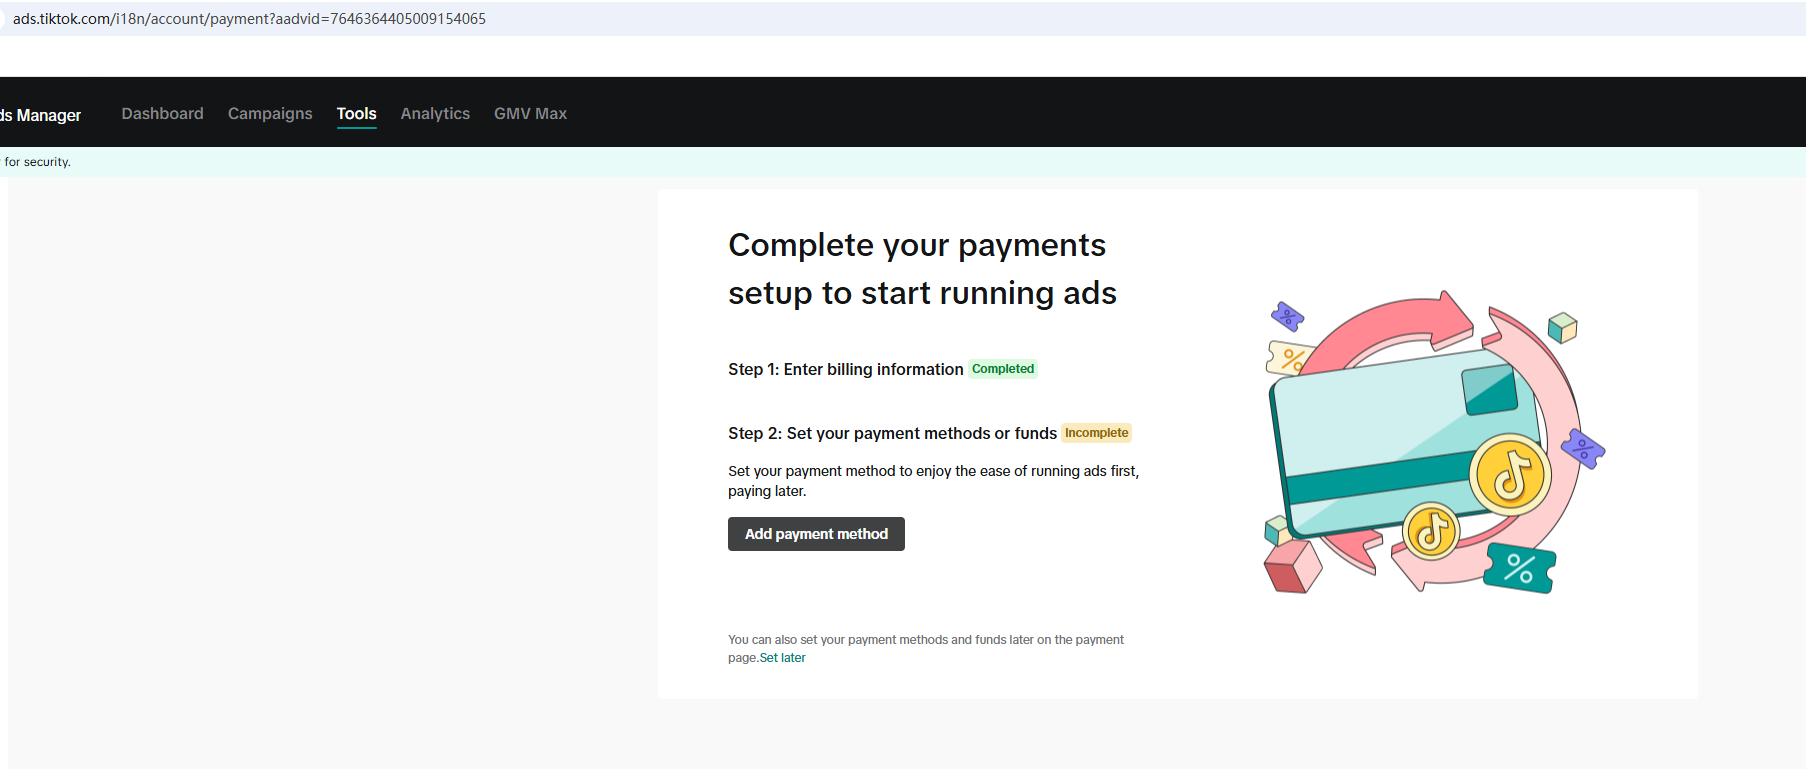
After billing setup, go to the payment method page and add a valid card or other supported method.
Run a small first test
After payment is bound, do not immediately launch a large campaign. Create a low-budget test to confirm:
- The account can submit ads normally.
- Payment succeeds.
- Creative review does not fail unexpectedly.
- The landing page is accepted.
- Pixel or event tracking works.
- Any claimed offer is visible in Promotions.
This first test is not about profit. It is a systems check before larger spend.
Next step: activate broader targeting
Some new accounts may show limited targeting locations at first. If you need to target additional markets, complete the activation workflow here: How to activate global targeting locations in TikTok Ads.
The actual list of available locations always depends on the current Ads Manager account, registration country, placement, payment status, and TikTok’s regional rules.
FAQ
Does account region equal targeting region?
No. The account region affects available placements, billing, tax, payment options, and targeting availability, but it is not the same as the countries you eventually want to target.
Can I launch with a big budget immediately?
That is risky for a new account. Use a small test first to confirm payment, review, page load, tracking, and coupon status.
Where do I check payment methods?
In TikTok Ads Manager, open Tools, then Payments, then add or review the payment methods available to your account.